Conversion Goals
Userlist helps you measure conversions right inside your workflows without using third-party analytics software. You can easily do this by placing a Conversion Goal node inside your workflows.
Unlike other software, conversion goals in Userlist are not tied to a campaign or message — you can place them anywhere in your workflows. So you can be extremely flexible with tracking methods. You can measure the impact of individual messages, A/B test branches (including empty ones), and general conversion rates. You can find information about different methods in the end of this article.
Using conversion goals
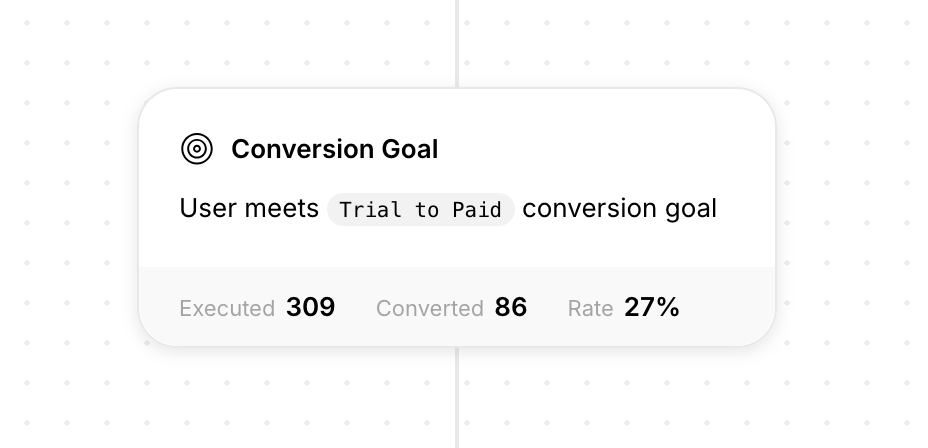
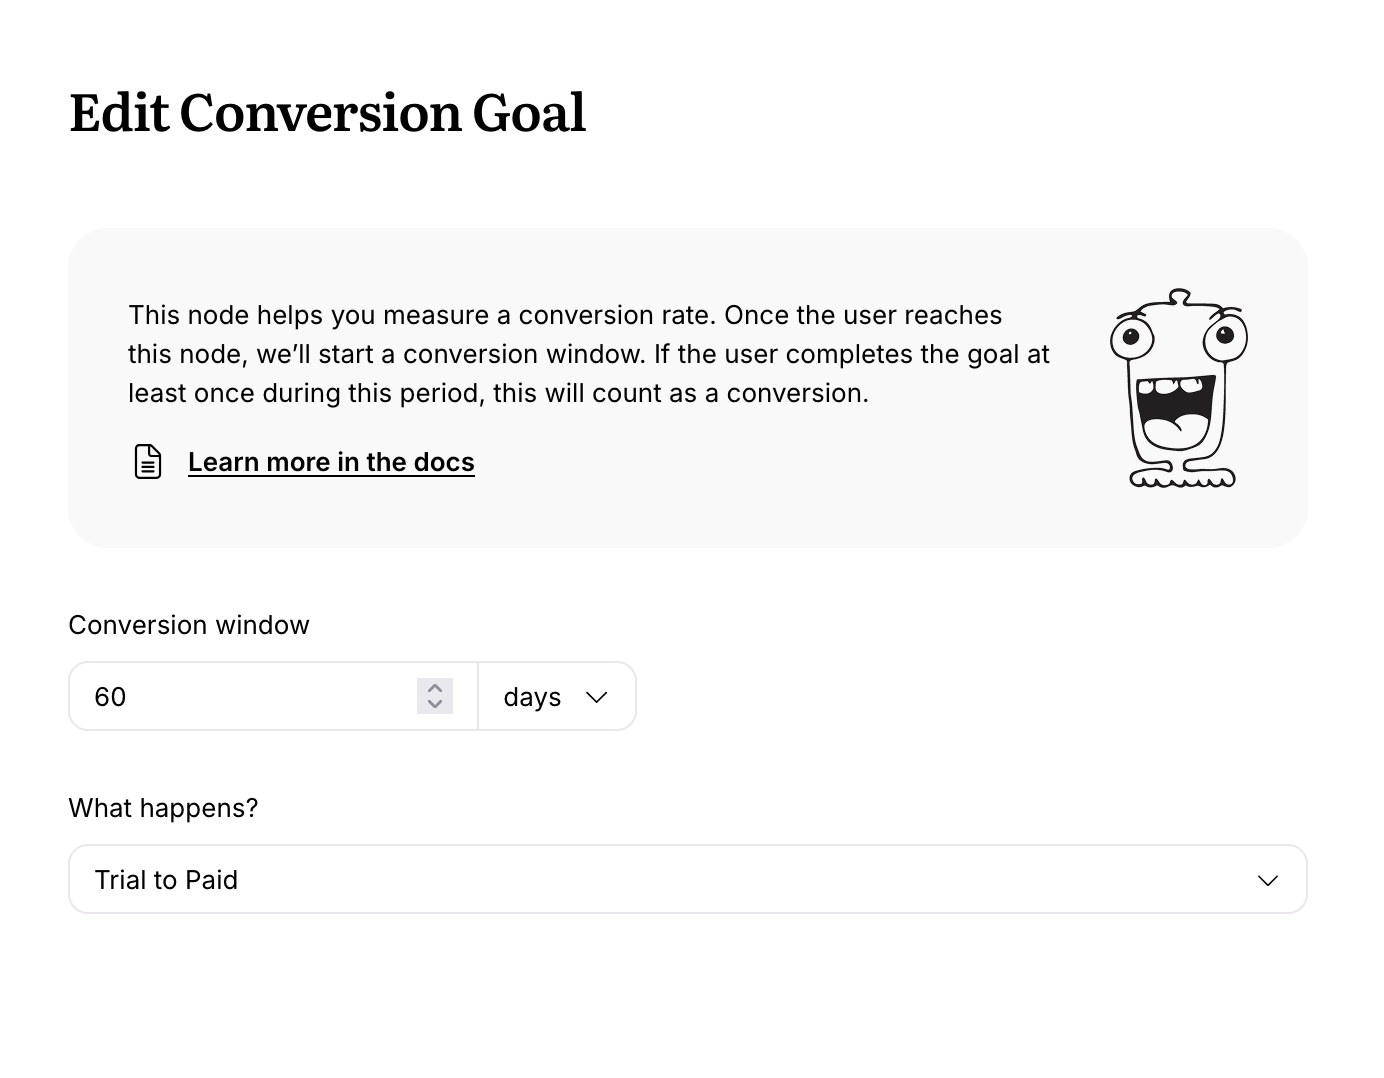
Conversion Goal node helps you measure a conversion rate inside workflows. Once the user or company reaches this node, we’ll start a conversion window. If the selected goal (based on user or company activity) is completed at least once during this period, it will count as a conversion.

The following metrics are available:
- Executed — total number of users who have passed through this node from the moment the node was placed.
- Converted — total number of users who converted during the conversion window. If the user hits the goal multiple times, it still counts as one conversion.
- Rate — the number of conversions divided by the number of executions.
To create a goal, place a Conversion Goal node from the menu into your workflow. Then set the conversion window, and select the desired goal.

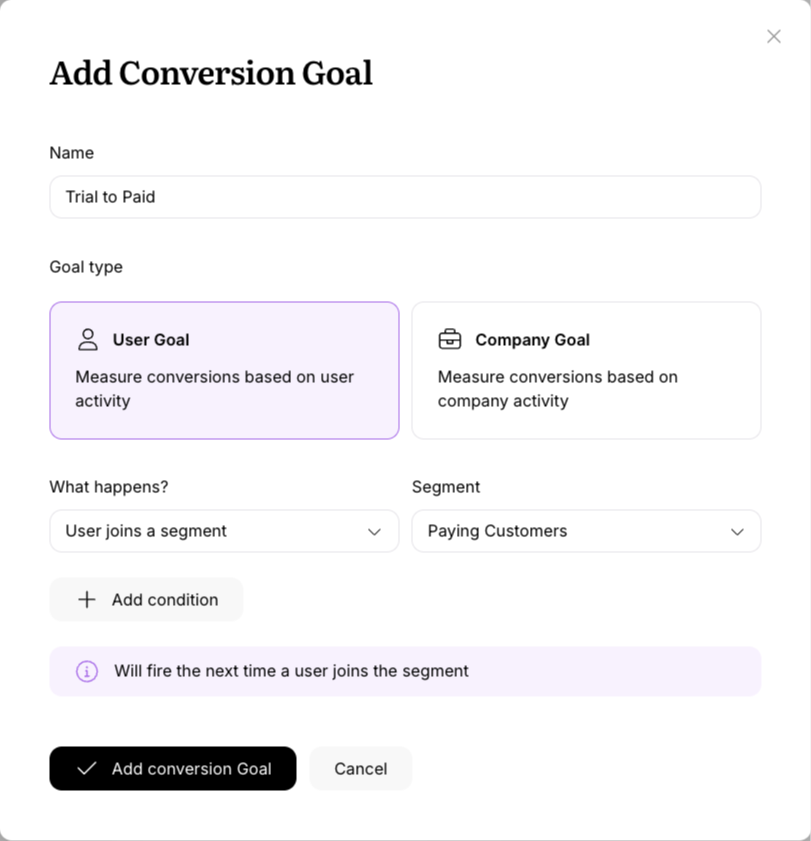
If you don’t have any goals in your library yet, you’ll be prompted to create a new one.

Managing conversion goals
Userlist keeps a library of your conversion goals so that you don’t have to come up with them every time.
You can manage conversion goals in Settings > Conversion Goals.
Best practices for accurate measurements
For accurate measurement results, avoid making changes to your Conversion Goal nodes after they’re placed.
- To start a new experiment, add a new node instead of re-using (updating) an existing one.
- Don’t change placement of your Conversion Goal nodes in existing workflows.
- Don’t switch the goal condition.
Specific cases
- When you place a Conversion Goal node into an existing workflow, it will start tracking conversions from the moment the node was placed.
- If you switch the goal condition, we will re-calculate the conversions using this new condition, starting from the moment the node was placed. (This is possible as Userlist has the full archive of behavior data and can analyze it retrospectively.)
- If you drag a node to a different location, it will keep the information about previously triggered users. We don’t recommend to do this.
Recommended test methods
Method 1. Measure conversion impact for an individual message
This method helps you evaluate short-term impact of one message. For example, we recommend to use it after a strong CTA email that urges the user to create an account or add billing details.
- Place a Conversion Goal node immediately before your message.
- Set the conversion window to a short period, e.g. 1-2 days.
Method 2. Measure conversions in your A/B test
This method helps you evaluate performance for each branch in your split tests.
- Create an A/B test using a Split Test node and add up to 5 branches.
- Place a Conversion Goal node in the beginning of each branch.
- Set a conversion window that is slightly longer than the duration of this branch (add 2-3 days to see the effect of the last email).
- To measure the impact of your emails, use one empty branch (just the conversion goal, no emails) to compare it with other branches that include emails.
Method 3. Measure general conversion rate in your workflow
Use this method to see how users convert during a certain period, e.g. user onboarding. This method helps you understand user behavior.
- Place a Conversion Goal in the beginning of your workflow.
- Set a conversion window that roughly matches the duration of this workflow (plus 2-3 days).
If you come up with other methods, we’d love to hear about them. Please email support@userlist.com and let us know.
