Email Settings and Sending Domains
To enable email sending in Userlist, you need to set up your sending domains and sender profiles.
Understanding your email settings
You’ll need a few simple things set up before you start sending email messages to your users via workflows and broadcasts. To do that, head over to Company Settings section in the app.
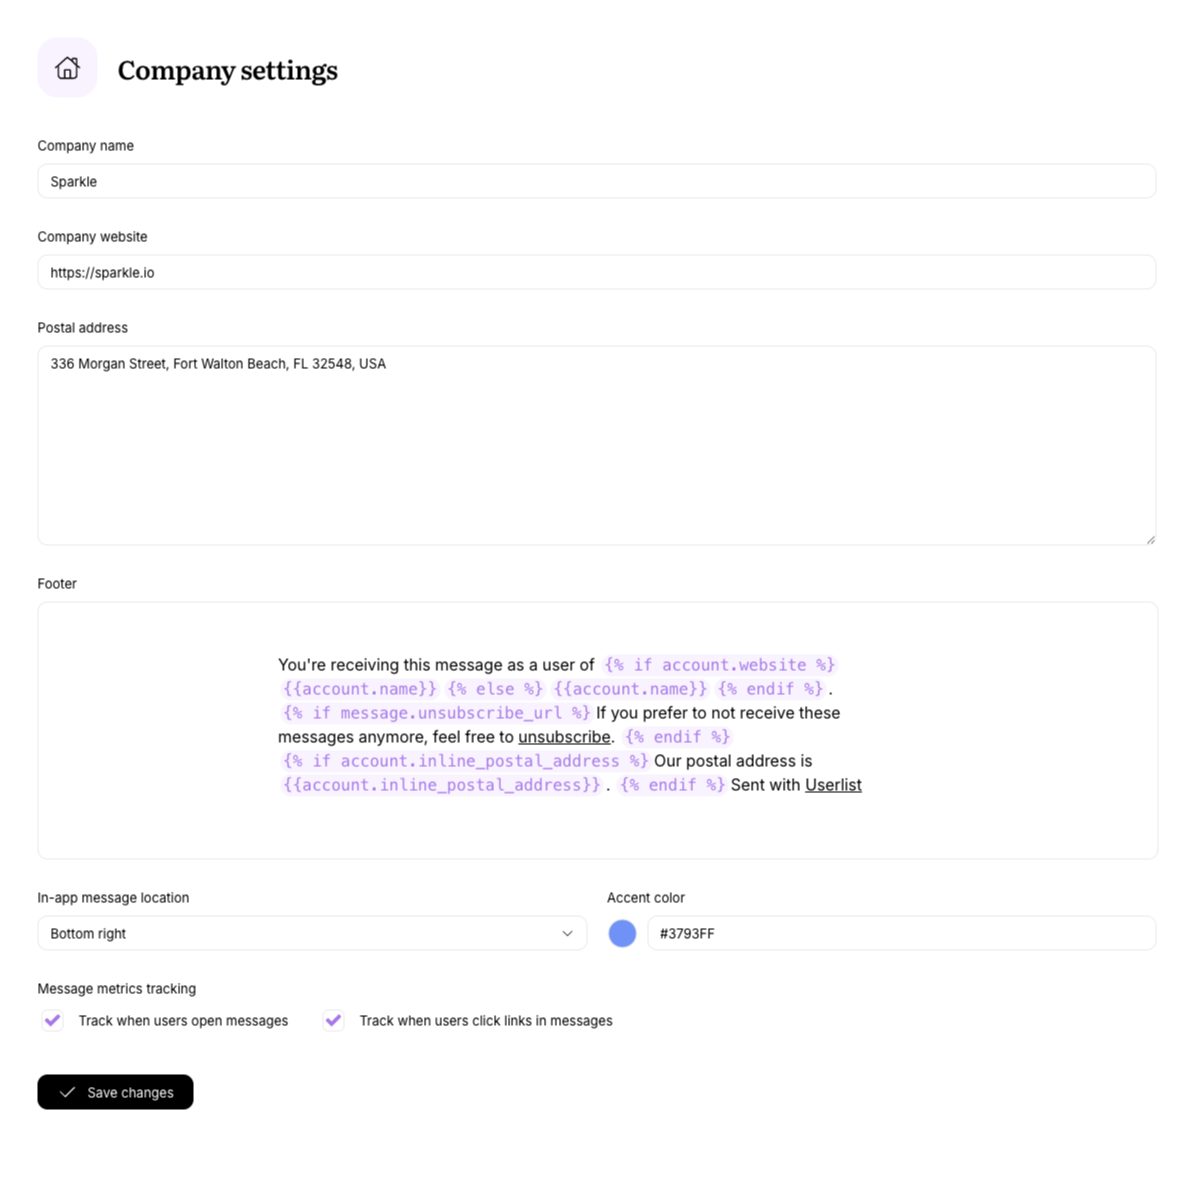
- You are required to add your Postal Address. It’ll be included in the footer.
- Footer section will be added to all your emails and contains information about your business and an unsubscribe link.
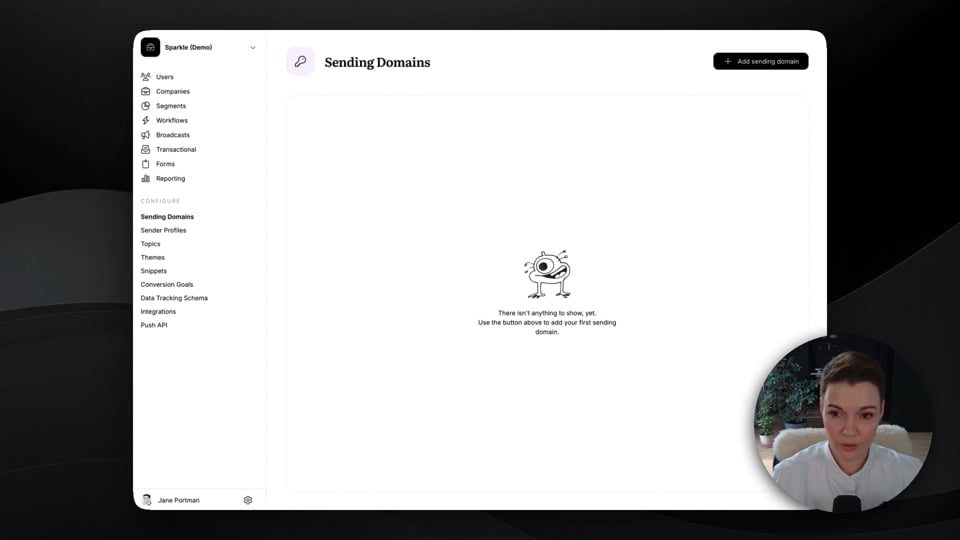
Setting up your sending domain
By default, we deliver emails using a shared @userlistmail.com domain. However, we recommend using your own custom sending domain to improve deliverability and ensure that all replies reach your inbox.
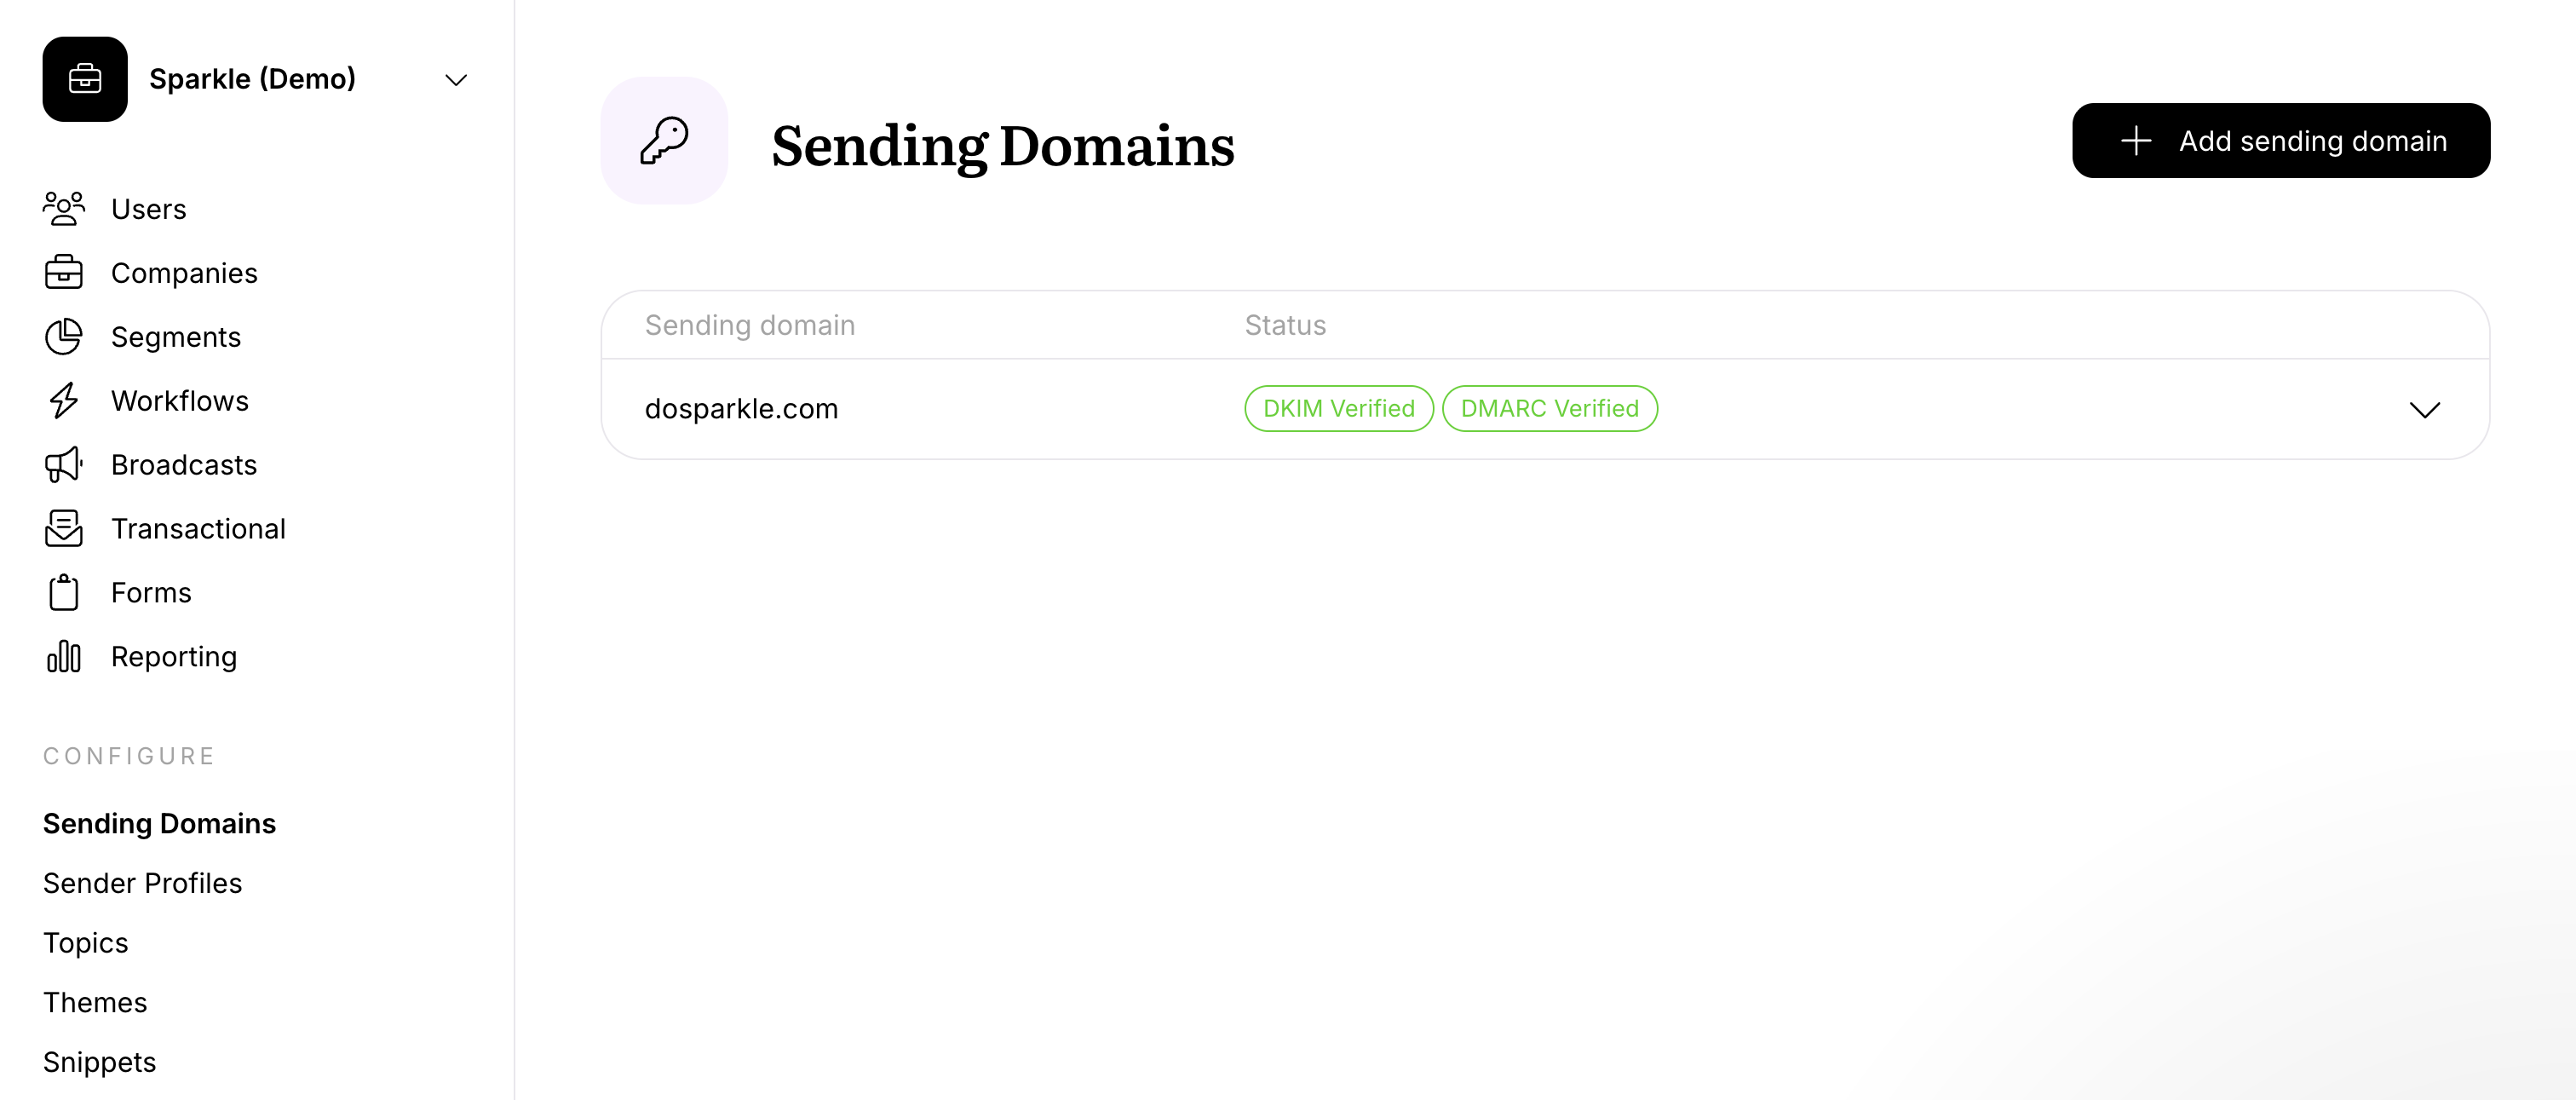
To add your own sending domain, head over to Sending Domains section in the app, and follow these steps:
- Add your domain name to the list (e.g. sparkle.io).
- Add a DKIM DNS TXT record to your domain using the values you see in the table. When you’re done, hit the Verify button.
- Once your domain shows as verified, we’ll start using addresses on your domain as sender.
- We strongly recommend setting up a DMARC DNS TXT record to ensure deliverability with providers like Google and Yahoo.
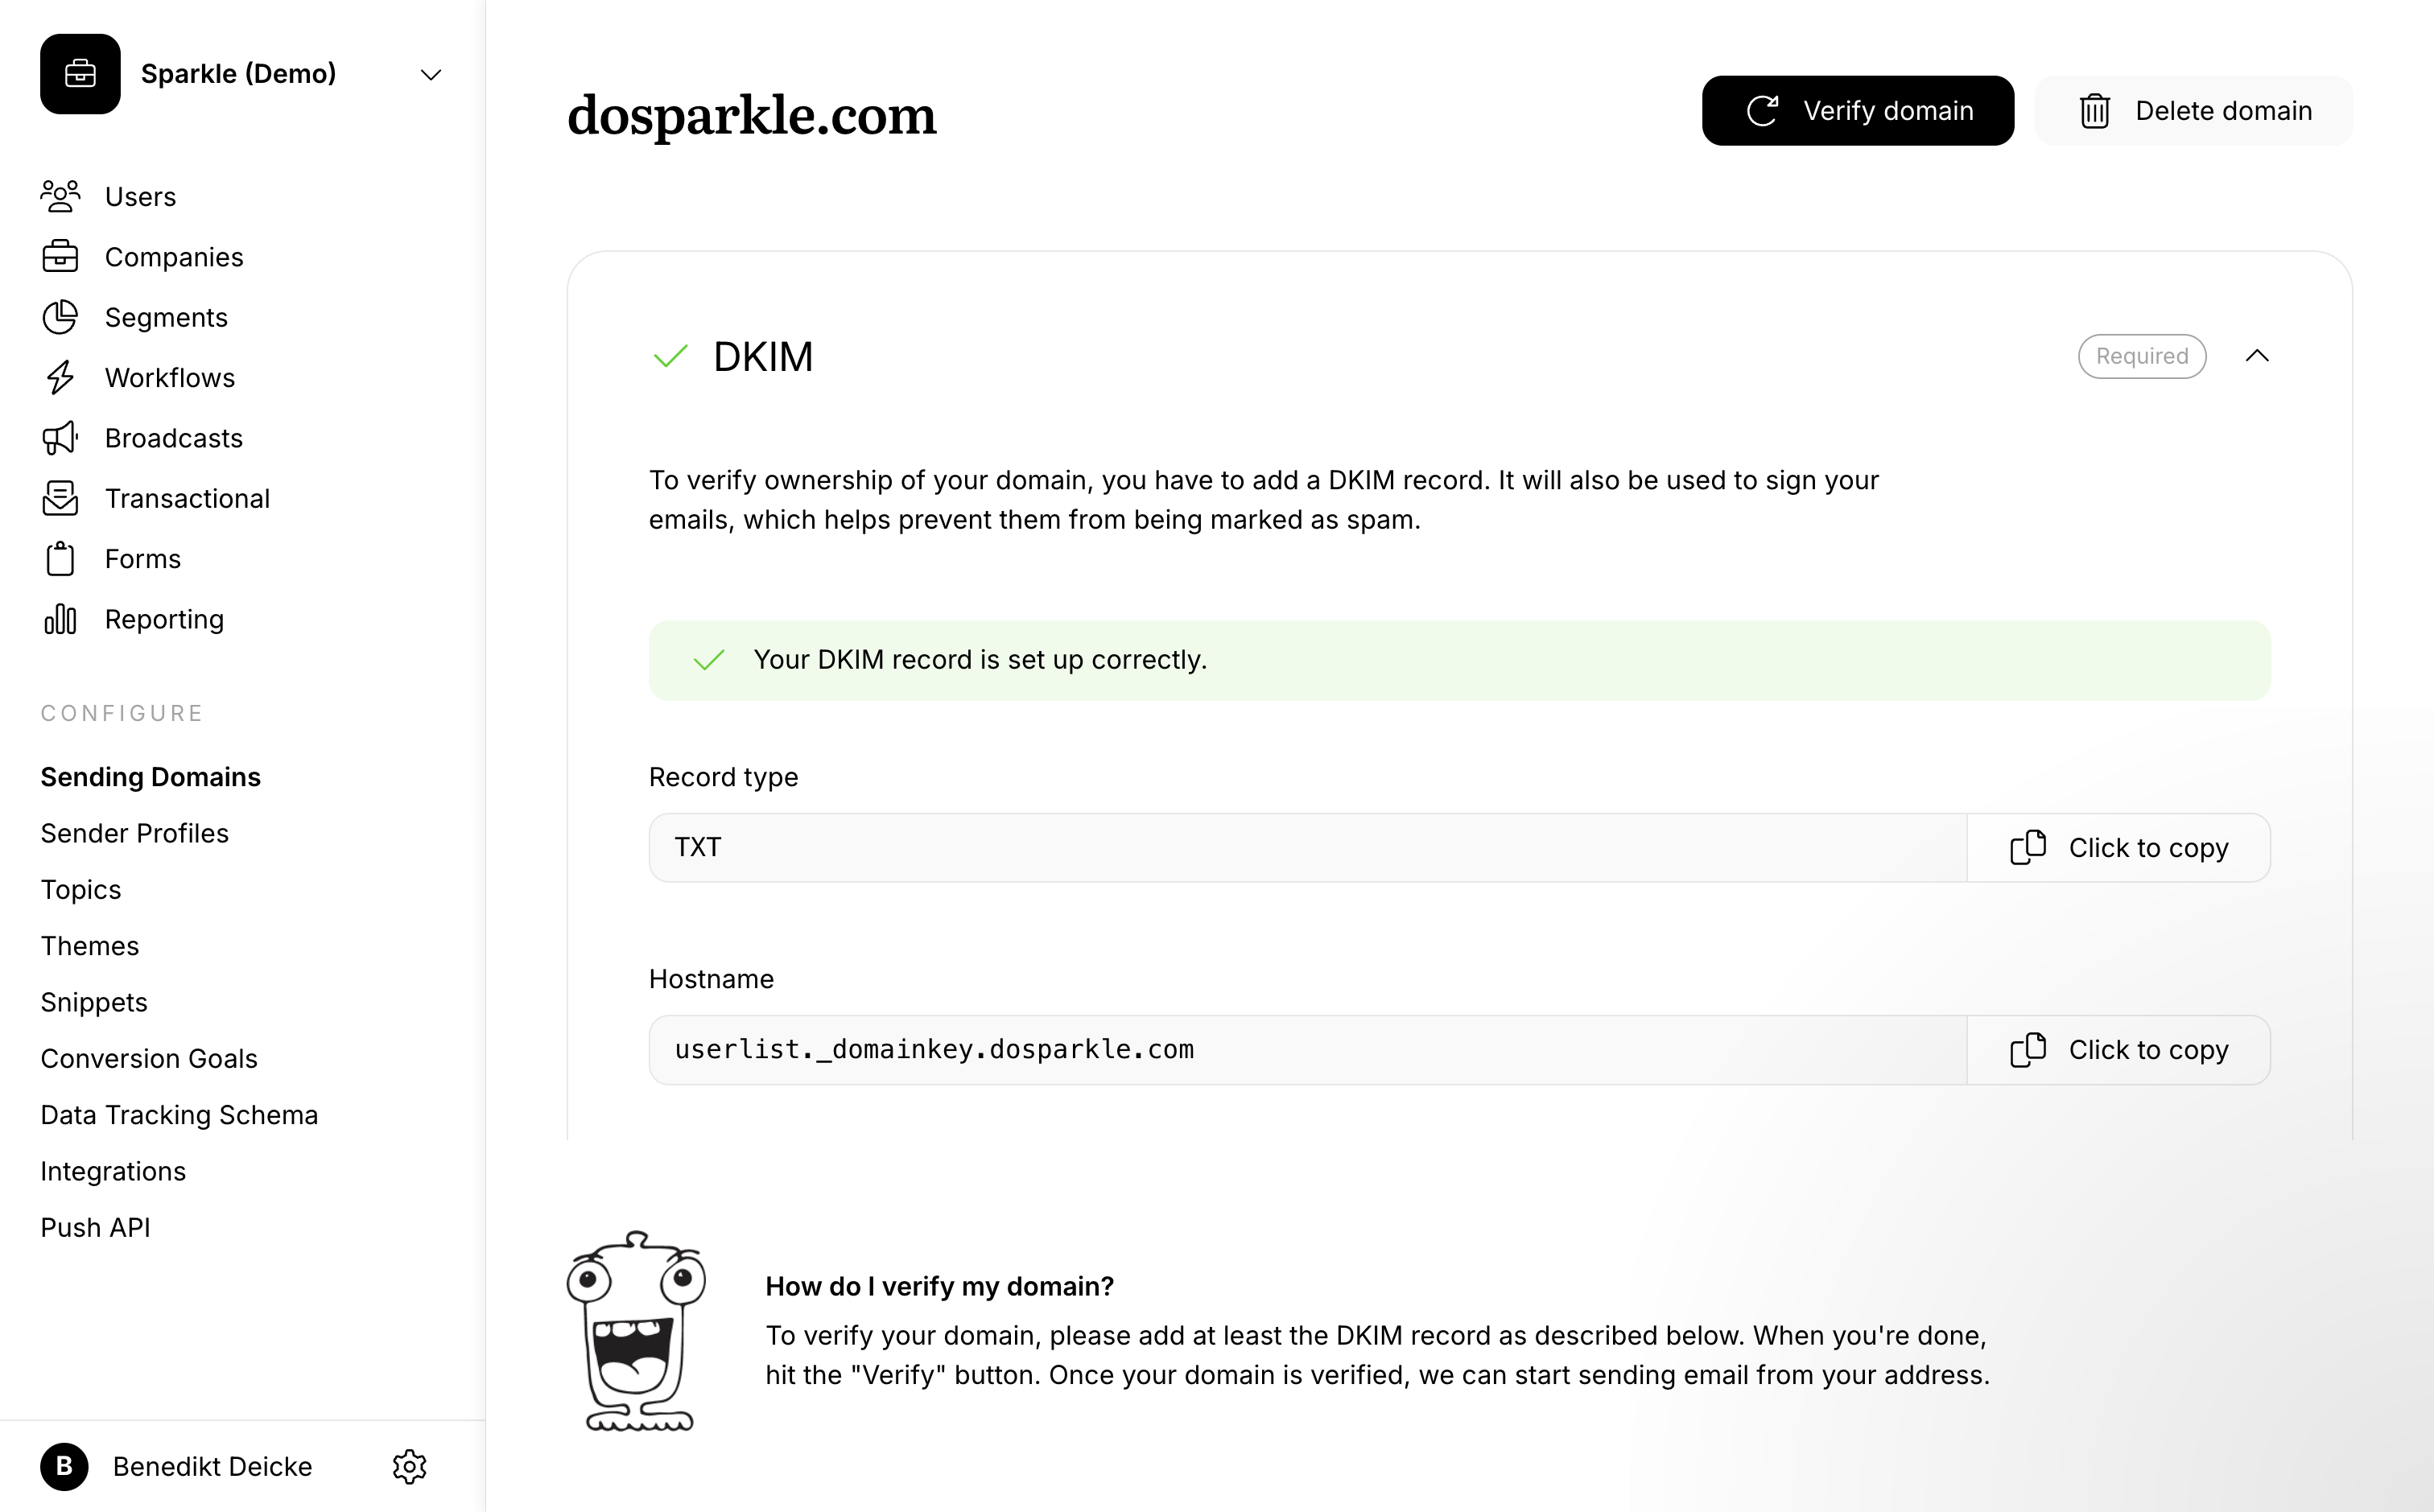
⚠️ Important. If you are struggling to verify your domain, check what your DNS host expects in each field. For example, Namecheap expects only the subdomain userlist._domainkey in their Host field.
DKIM, DMARC, and SPF
Verifying your sending domain uses DKIM, or DomainKeys Identified Mail, which lets the receiver of an email know that the message was sent and authorized by the owner of the domain.
If you don’t already, we recommend monitoring your DMARC, or Domain-based Message Authentication Reporting & Conformance. There is a good free tool from Postmark.
You may also wonder whether you need to adjust your SPF, or Sender Policy Framework, record. SPF is only needed on the bounce domain, which remains a Userlist one, so we take care of that. Here is a good article from Postmark.
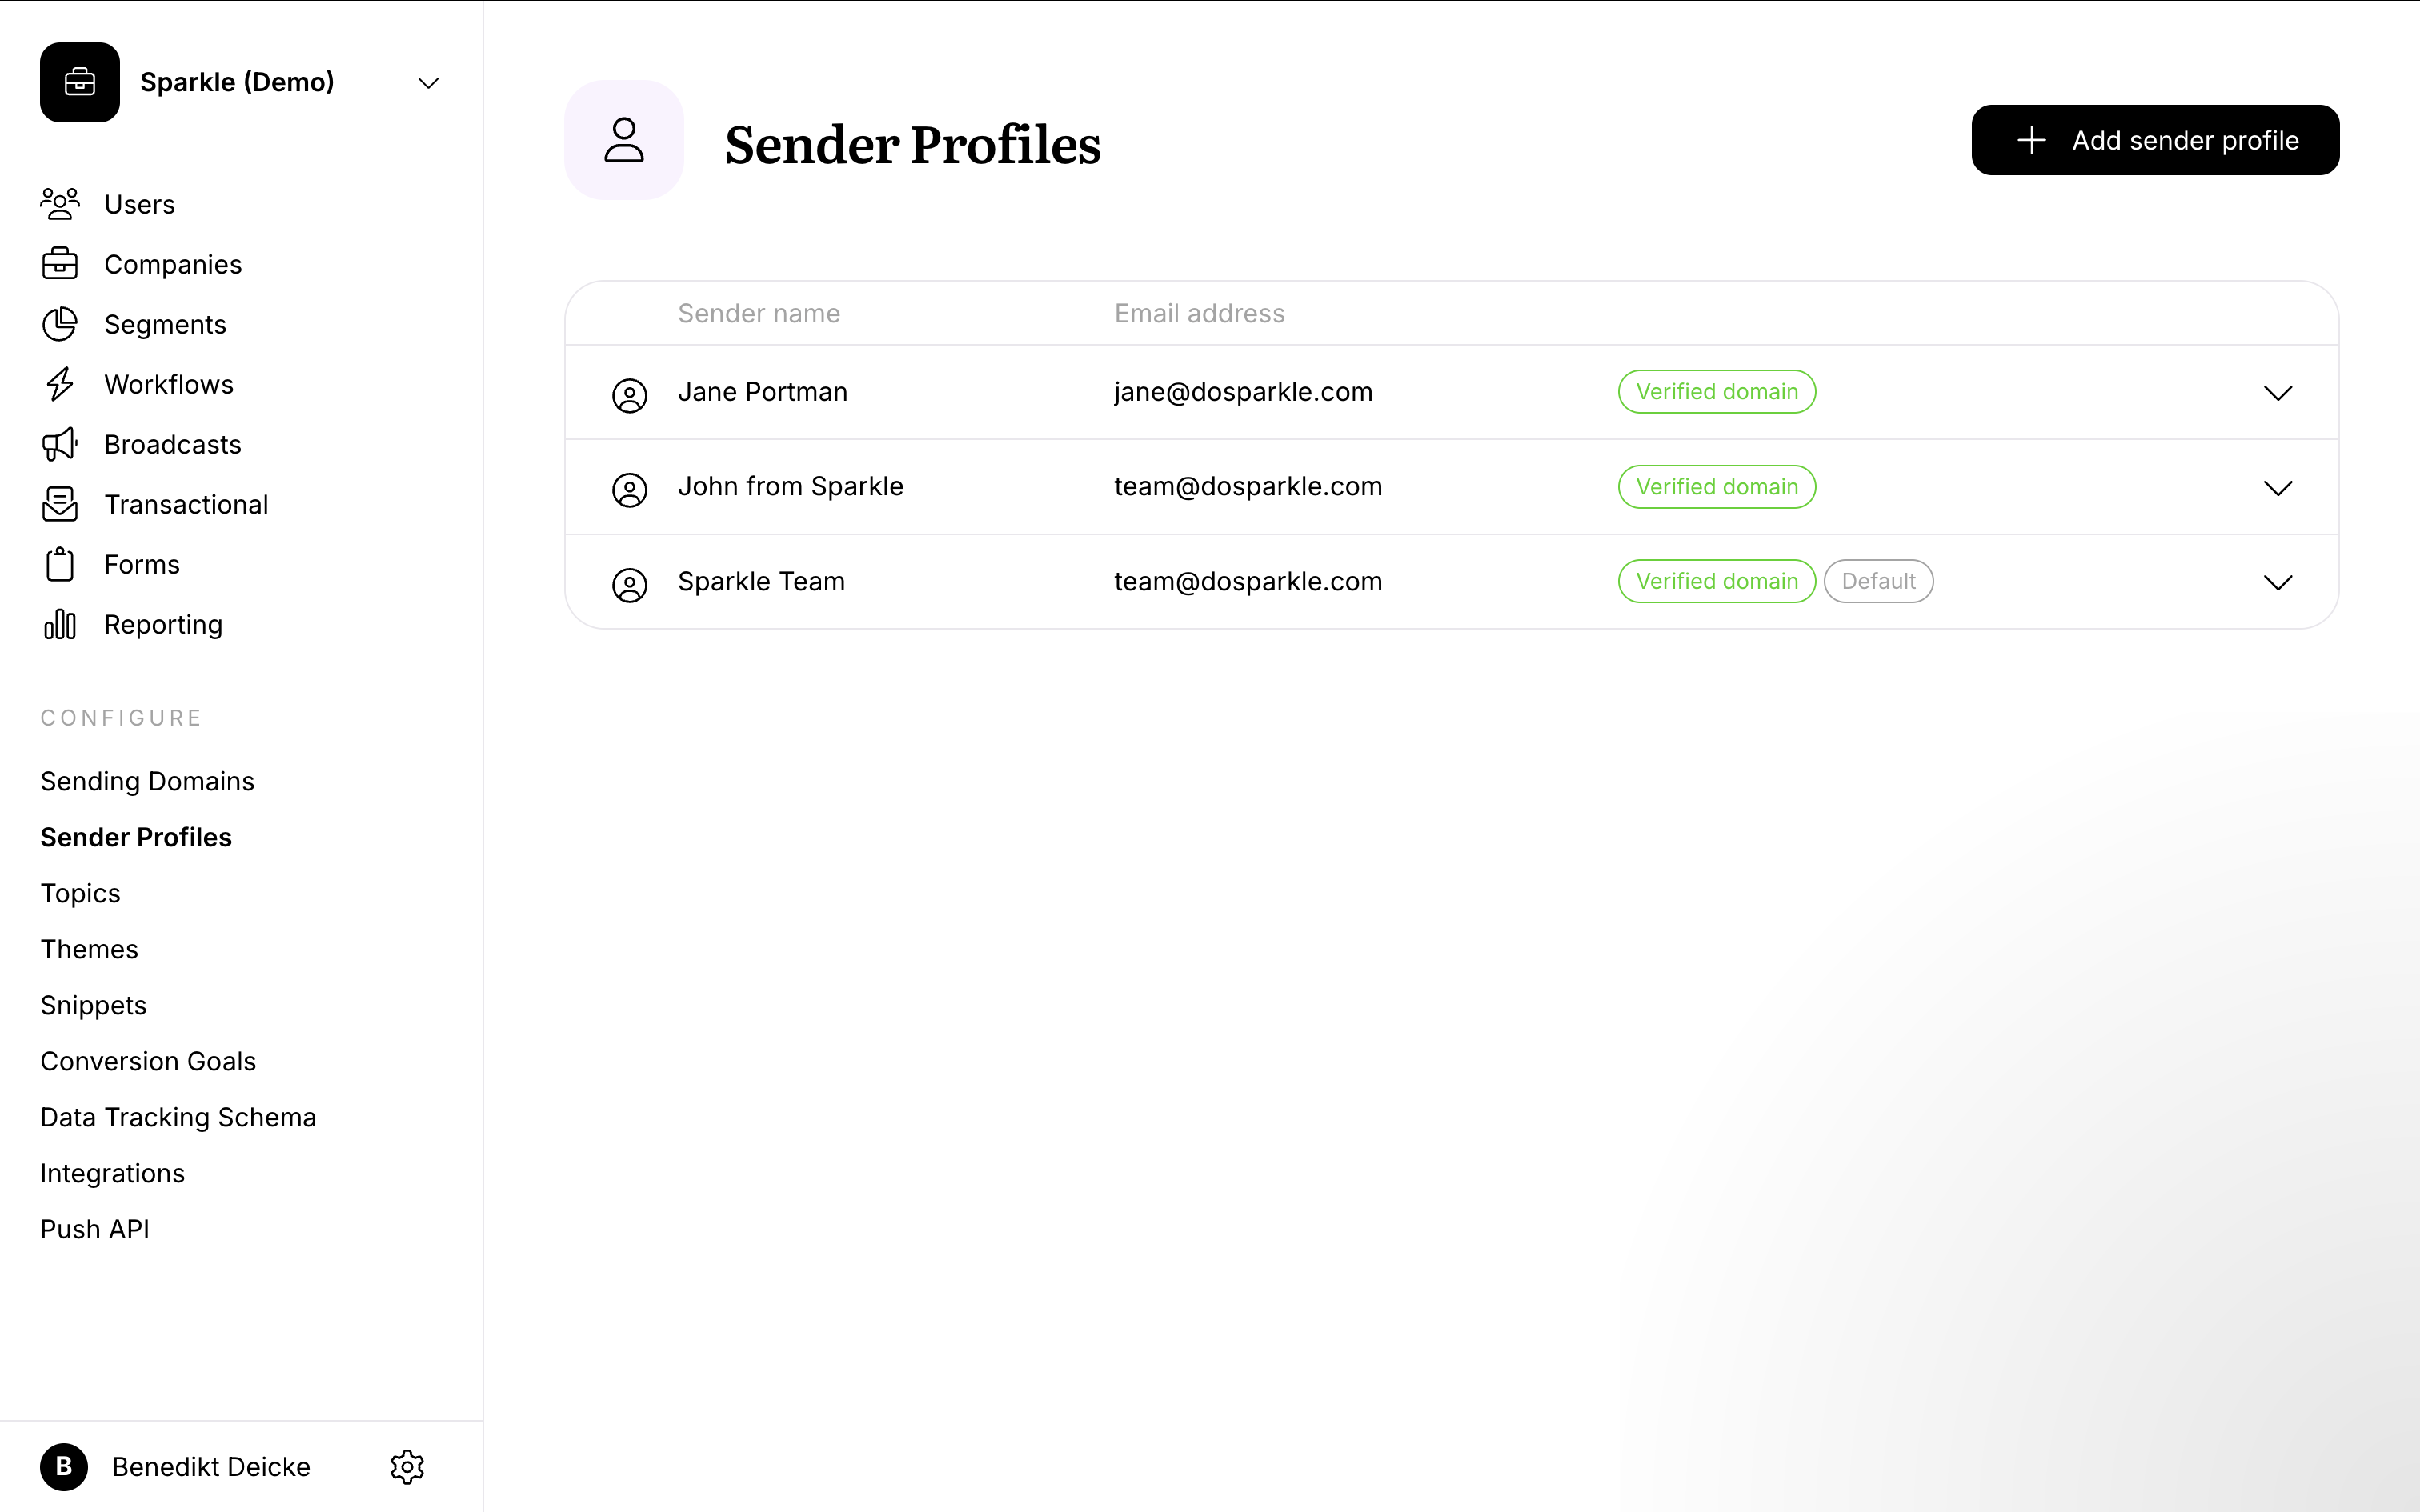
Sender profiles
With multiple sender profiles, you can get creative and send messages on behalf of individual team members. For example, you can send:
- a welcome note from your personal email in your onboarding workflow;
- a call invite from another team member;
- most of the emails from your main support address.
You can create additional Sender Profiles in your settings, then select a sender of your choice for each individual message. If you don’t choose a particular sender, then we’ll use the one currently marked as Default.
Sender profile images
Userlist uses Gravatar to display images for sender profiles.
To add or update a sender profile image:
- Go to Gravatar and click Get Started Now.
- Add and verify the same email address you use in your Userlist sender profile.
- Choose an avatar for that email address.
After Gravatar updates, the image should appear in Userlist.
Email clients decide which sender image recipients see in their inbox. Userlist can’t guarantee that the image from your sender profile will appear there.
Depending on the inbox, the image may come from the recipient’s address book, the mailbox profile behind your sender address, Gravatar, BIMI, Apple Branded Mail, or another provider-specific source.
For brand logos, BIMI can help supported email providers show your logo as the sender image for messages sent from your domain. BIMI requires proper email authentication, including DMARC. Some providers also require a mark certificate, such as a VMC or CMC, before they’ll display the logo. Because setup can involve DNS changes, logo requirements, and paid certification, BIMI is usually most useful for brands with stronger security, trust, or anti-phishing needs.
For profile photo setup with your email provider, see:
For brand logos, see:
Results depend on the recipient’s inbox provider and email client.